
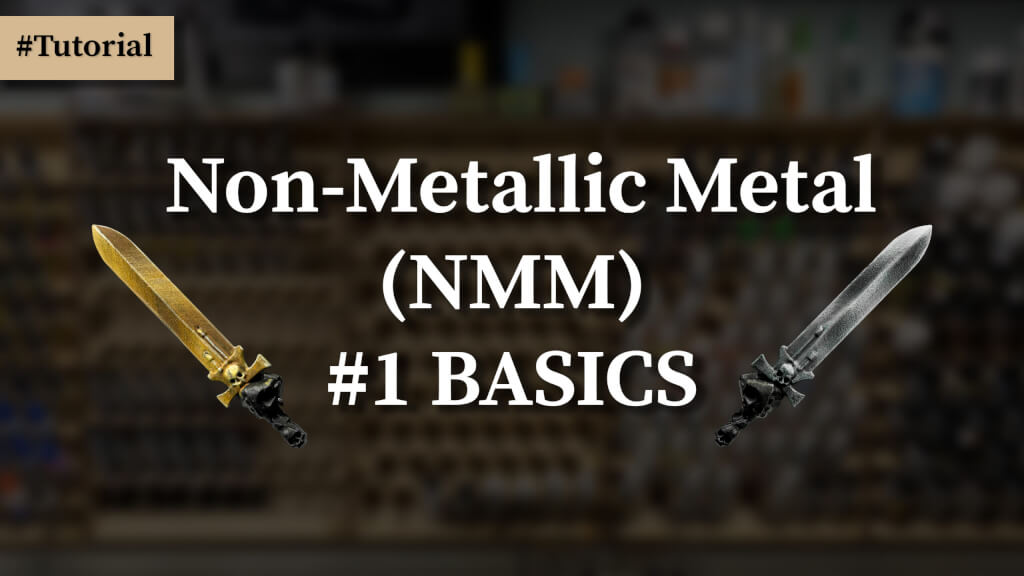
If you have been exposed to miniature painting for a while, you will likely have come across the term “non-metallic metal” or “NMM”.
It appears to be pinnacle of skill and “what all the pro’s do”. But how does it work? And where do you even get started? Let’s find out together in this step by step tutorial on learning and painting non-metallic metal.
What is non-metallic metal?
Non-metallic metal refers to painting an object as if it was shiny and reflective like a polished gold, brass or silver surface, but without using colours with metal flakes in them. Standard oil or acrylic paints are being used and reflections are created through hand painted colour and contrast on the object .
What we refer to as NMM in miniature painting today is by no means a modern day concept or recent invention. There are plenty of portraits from the 15th century and earlier using conventional oil colors to mimic reflective, metallic surfaces created long time before actual metallic colors were invented.
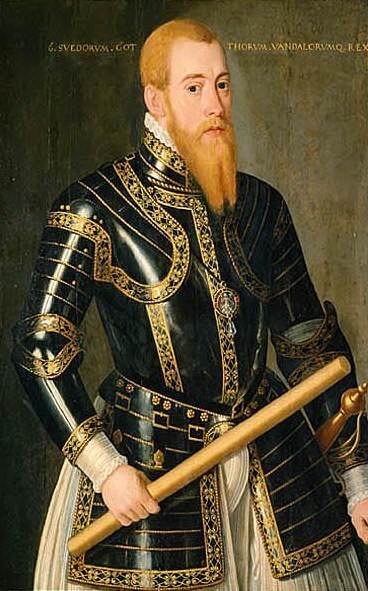
(1533-1577). Public domain.
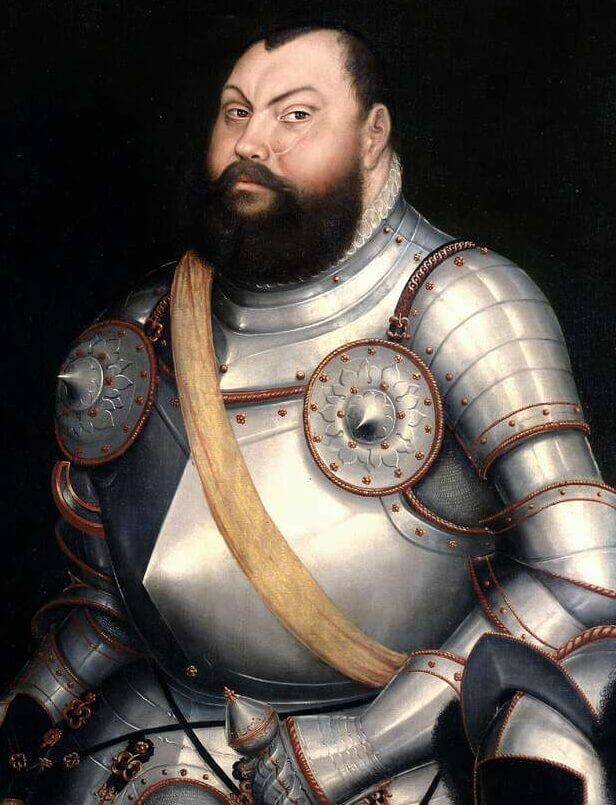
The art of making this technique appear realistic is to understand how light and reflections behave on a given surface and to mimic the effect utilising the full contrast spectrum from very dark, almost black tones up to plain white for the brightest surface.
And depending on the environment, to also consider or tonally include the environmental colours in the reflections.
Understanding Light and Materials in Non-Metallic Metal
Different shapes, different materials and finishes reflect or disperse light in different ways. A matte surface is rough and uneven. It will disperse the source light and less light will bounce directly back to the viewers eye – which let’s it appear less reflective. Matte varnish for example works with this effect, leaving a microscopically uneven surface. So when light hits the object it will be scattered in multiple different directions and the surface appears to “swallow” light – or reflect less.
Polished surfaces have a very even and smooth finish and can reflect light or colours almost 1:1. A mirror is a great example of a fully reflective surface.

One part of painting non-metallic metal is understanding the surface and materials you are planning to paint. Brushed aluminium casings or unfinished steel will reflect less light than a finely polished blade or chrome plated surface. And a once polished, but now scratched, dented or worn down surface will lose some of their shine and create a more diffuse reflection.
For painting believable non-metallic metal, it helps to make believable material choices. If your Space Marine is painted grim dark, is rusty, dusty and been through years of war without seeing his armour cleaned or polished – how likely is the gold trim of his armour going to be as buffed and shiny as on day one?
And is his blade, despite heavy use, different because it is indeed looked after well and regularly polished or sharpened by a servitor – before or even during each battle?
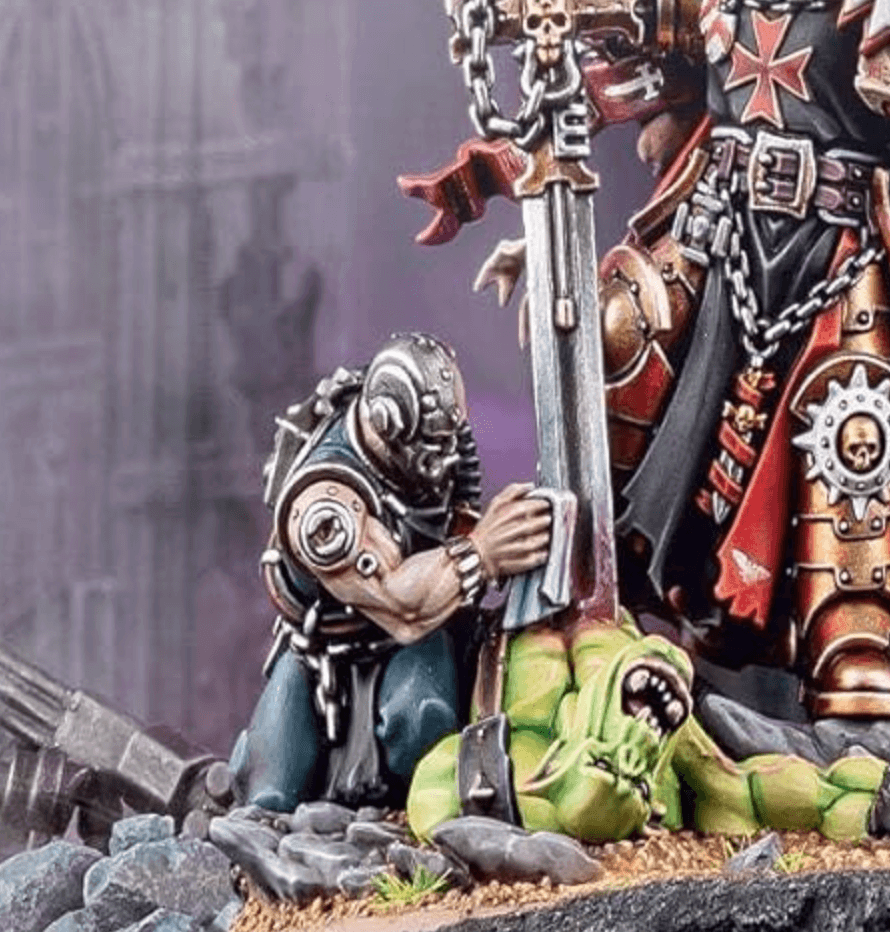
Snapshot of the box art by Games Workshop,
Making believable choices does not always mean being correct based on the physics of the reality we know – in fictional universes there are materials that do not exist in our reality after all. But we want to suggest through our painting, that a given material does indeed exist and behaves as the human brain would expect it.
We want to create consistency as if something would exist and also abide by the rules of physics our brains are used to, recognise and comprehend. So your interpretation on whether an object or item is factory new or heavily used, brushed silver or polished brass, shiny silk or worn down cloth can help to make painting choices that translate better or quicker to the human eye and brain – consciously and even subconsciously.
Understanding Shapes in Non-Metallic Metal
Material and finish are only one component of how light interacts with an object. The other is shape. Even with identical materials used and under the same light, the reflections on a sphere behave differently than on a cube or a cylinder.
Specifically in miniature painting, we are trying to re-create how light behaves on a miniature scale through colour. And this mostly implies artificially creating a perception of depth through light, shade and contrast expressed by using different colours.
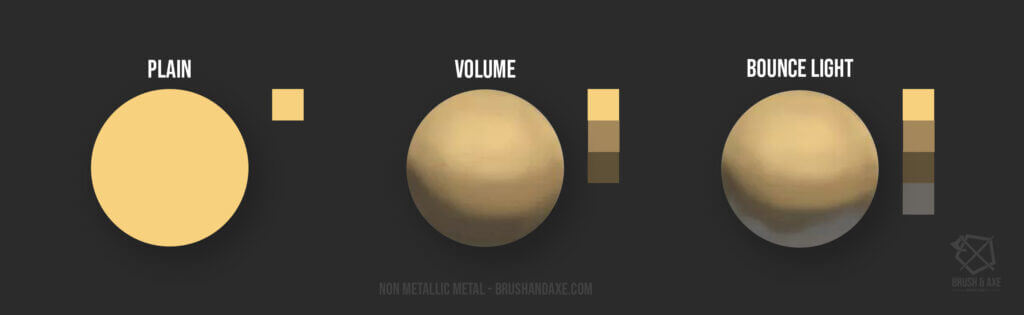
In the real world, light bounces off of surfaces, so we need to understand and mimic the concept of primary, secondary and tertiary reflections. The most immediate or direct light source creates our primary reflection. This can relate to light sources within the frame of our miniature, such as a torch or plasma coil. And it can also relate to a light source outside the frame, like the sun or moon above reflecting on a shiny armour.
Technically speaking, there is no right or wrong in regards to what light sources you choose to exist in your composition or not. It is a creative choice. You choose whether there is a sun above – or a given light source within or beyond your frame. But once you chose one or several light sources to exist in your composition, there is a perceived right or wrong on whether the light behaves “physically correct” or “believable” within the context of your composition.
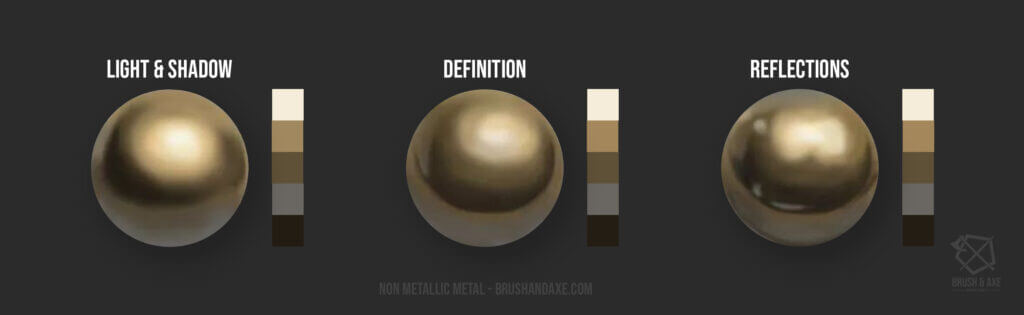
Compared to the first image, where we created depth through volumetric highlights, we can now start using additional near white and near black tones to further increase contrast and make the human eye believe that we are looking at a reflective surface, even when only using flat colours. This happens exclusively rough placement of highlights and shadows similarly to how they would behave in the real world.
Summary
When painting metallic surfaces, we need to translate the shape, lights, shadows and reflections of an object in a given environment into colours at a miniature scale. Our brains subconsciously expect a certain look or behaviour of light and shadow based on our experience of physics in the real world. If we manage to mimic this look as close as possible to real life, our painting will pass as realistic and “correct” to the observers eye.
Becoming good at painting non-metallic metal therefore means to train our eyes to recognise the colours and hues of light and shadows, but also to understand how light and materials behave.
In the next part of this series, we will be taking a closer look at the colour palettes we use when painting different types of metal.

Leave a Reply